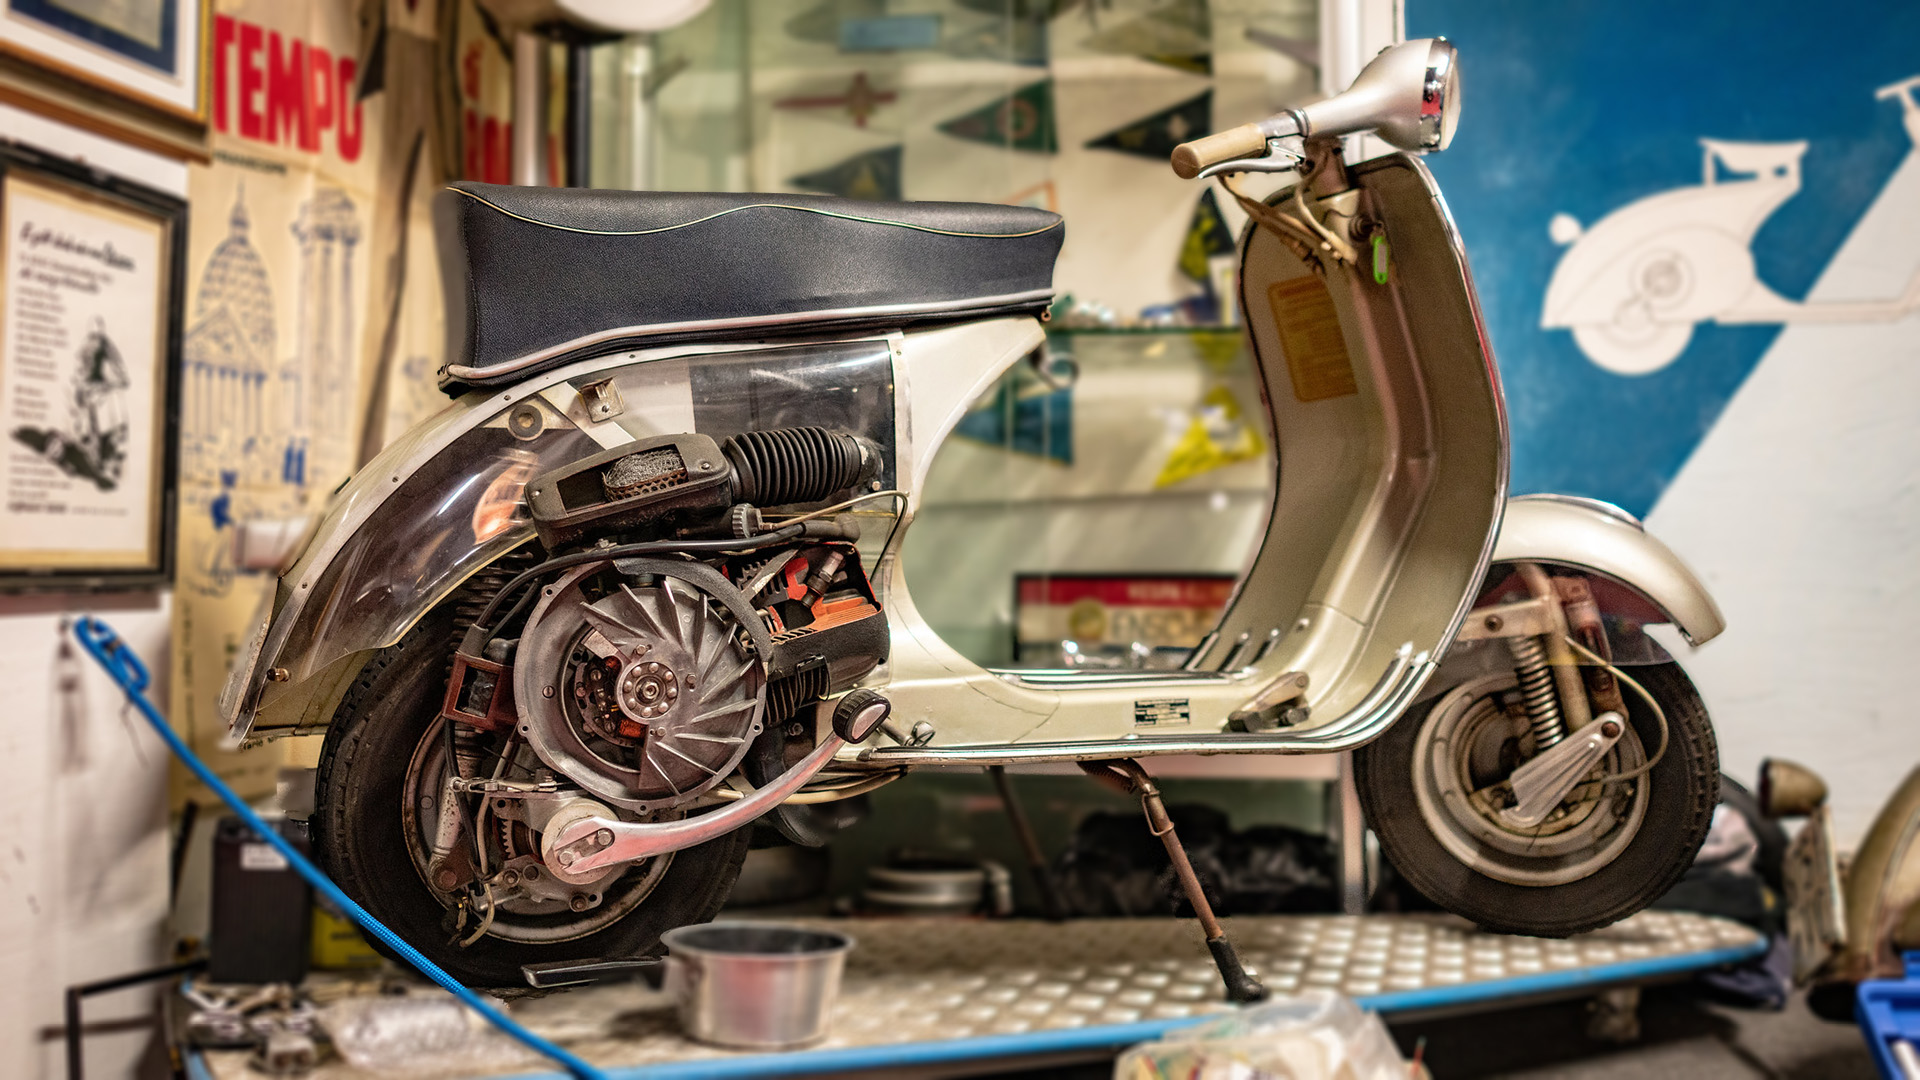
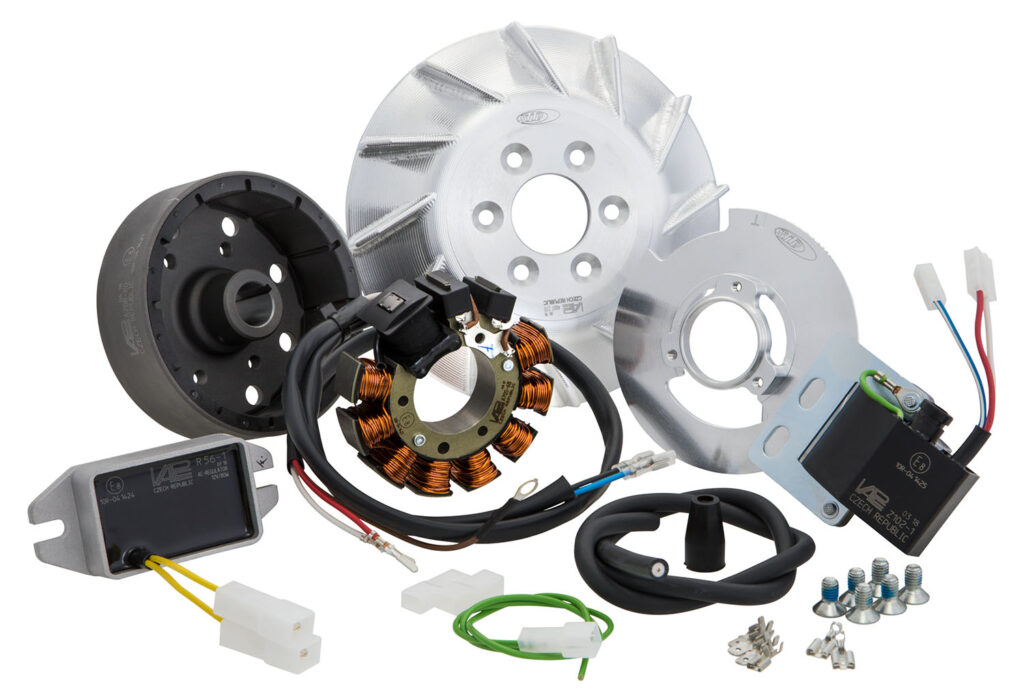
Whether kickstarter or purely electronic ignition, the ignition of a Vespa is a central element without which starting would not be possible. The issue of ignitions is particularly well known in older models, where the factory-fitted 6 volt ignitions often do not work reliably. It is therefore advisable to convert to a modern 12 volt ignition system. But more on this later!
How the ignition systems work
The heart of the ignition system on older Vespas, the so-called flywheel magneto ignition systems, work both precisely and synchronously, provided they have been properly adjusted. The special feature of this design is that the ignition is simultaneously the flywheel mass, light and ignition current generator. Three coil armatures are mounted on the so-called ignition base plate, which are supplemented by two breaker contacts and a capacitor.
Above this base plate is the flywheel, which rests on the crankshaft with matching notches. Six magnetic poles are usually installed in the flywheels, which are also regularly called pole wheels. The ignition armature consists of two coils wound around a magnetic core, a primary coil and a secondary coil. The beginning of the primary coil is connected directly to the ground of the base plate and the end is connected to the ground of the base plate via an interrupter and capacitor.
The breaker opens and closes with precise timing to ensure that the ignition spark is generated at the right moment. This ignition timing is crucial for the efficiency of the engine and influences both performance and fuel consumption. This generated pulse alone ensures that the fuel-air mixture in the cylinder is ignited and the engine can be started. As a result, the engine runs quietly and smoothly and can generate optimum power.
The devil in the detail – Vespa ignition systems
Unlike in many other areas, the maxim “Never change a running system” is not entirely unjustified when it comes to ignition systems. Due to the connection between the breaker and the mass of the base plate, precise adjustment of the aforementioned ignition timing is crucial for every revision. This adjustment is possible for ambitious mechanics with the appropriate equipment.
However, this requires an ignition timing degree disk, which fits almost all ignition systems. A strobe light for flashing the ignition and a holder are also useful. With the following short instructions, adjustment is quick and uncomplicated.
1) Search for top dead center (TDC). Top dead center is the highest point that the piston can reach in the cylinder. To do this, it is necessary to remove the fan wheel and install a piston stopper.
2) The fan wheel can then be turned slowly and carefully until this is no longer possible. At the height of the pointer, the point on the housing to which the arrow on the cooling fins points must now be marked
3) Now the degree disk must be placed, whereby the 0° point marked there should be placed on the marking.
4) The desired ignition timing (counter-clockwise) can then also be marked on the housing. For new ignition systems, the experts at SIP Scootershop will be happy to provide information on the appropriate degree value or this value is also regularly specified on the homepage.
5) The degree disk can now be removed.
6) Now start the scooter and check with a strobe light whether the arrow on the pole wheel is aligned with the marking. If not, turn the ignition plate to match. Otherwise, it is advisable to apply the marking to the ignition plate and housing to avoid having to repeat the procedure when dismantling in the future.
With these instructions, at least the respective part can now be adjusted and, if necessary, replaced with an identical part. The next part of the series will deal with the aforementioned changeover from 6-volt to 12-volt ignitions and the associated advantages. We will also take a look at the ignition systems of modern Vespas. All that remains is to hope that there will continue to be plenty of lightning without thunder for the upcoming Vespa season. This is the only way to keep the engine running optimally in the absence of thunderstorms and hopefully bright sunshine. The Vespa weather par excellence.
Next article in the series: “Converting from Old to New – The Vespa ignition part 2“


Comments (1)