Every Vespa fan knows this situation:
When it comes to a breakdown or any malfunction on the scooter, then guaranteed at the wrong time. Whereby the question arises: Is there even a right time for a breakdown or a failure?
We press the start button of our Vespa. What happens? NOTHING. Absolutely dead. Not even a clack or buzz. Shit! Now a kickstart wouldn’t be bad, but the GTS 300 doesn’t have a kickstarter, just like many other models don’t.
When the Vespa engineers came up with the idea to build the Vespa scooter with fuel injectors instead of the classic carburetor engine, they probably thought: All electronics, kickstarter doesn’t work anymore anyway, so get rid of it to save weight. However, there are possibilities for retrofitting a kickstart, depending on the model, but this requires a separate article.
In your mind’s eye, the image of a sweating Vespisti appears, who tries to start his machine by pushing it. You can knicken, at least with the GTS 300, the box is too heavy for most to push.
What can be the cause when the electric starter goes on strike?
- Fuse blown
- battery empty
- Contacts of the start button are rusty or dirty (but this is relatively rare)
- Relay or starter motor defective
In our case, the scooter makes no sound at all. Great, of course this can mean anything from a fuse, to the battery, to the relay and starter motor.
How do we determine whether the battery still has power or not?
The power of the battery is crucial, ideally a voltmeter is available.
- Hold the measuring tip of the red cable to the positive pole of the battery.
- black cable to negative pole
- from 12 volts upwards the battery is healthy; 12.7 volts would be great (even though the battery only says 12 volts)
- if the meter shows 11.8 volts or less, the battery is mostly deep discharged, i.e. DEAD, then it must be replaced
- if the battery is weak, but not completely empty, connect and charge it immediately
- wait at least 30 minutes before measuring again
When the battery is weak, the battery charger is a useful helper and should not be missing in any garage!
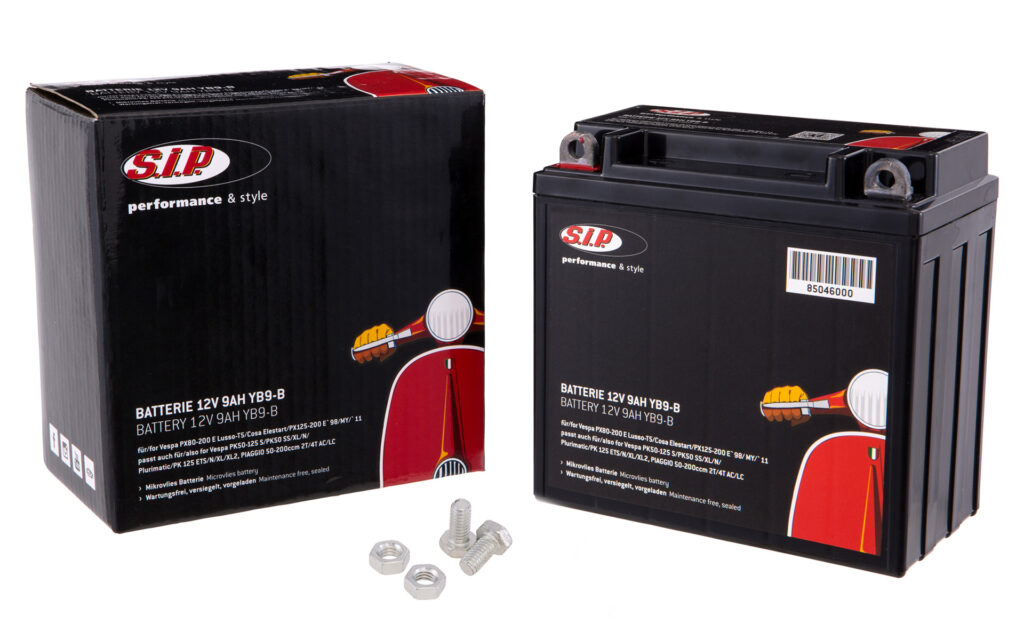
Remove and replace battery
If all this doesn’t help anymore, the battery has to be replaced; Either by qualified personnel or for connoisseurs with the help of the following points:
- Remove the cover of the battery compartment and the retaining bracket (keep the screws safe!)
- unscrew black cable/minus pole first
- red cable/positive terminal next
- remove battery, insert new battery
- connect cable in reverse order (red first, then black)
- Tip from the moth box: To fix the new battery, screws together with the counterparts are usually included. To prevent the washers from falling into the case, we put a strip of paper under each screw hole. Remove the paper before tightening the screws.
- Reattach bracket and cover
- Tip: A new battery is usually only pre-charged. Therefore, attach it as soon as possible and charge it completely.

Battery is OK, now what?
A clack or buzz would mean that the battery is OK. A weak current flows through the relay, for which the thin wires away from the starter button are quite sufficient. The starter relay should use the weak current to attract and close the thick contacts, get the starter motor to work, and get the engine of the machine going.
Since the weak current alone is not enough to move the starter motor itself, we may have a fault in the power chain:
- Battery breaks down as soon as the relay starts working.
The relay is a magnetic switch, whose armature attracts the thick contacts and closes the circuit, hence the clacking (process repeats to the continuous clacking at several start attempts in a row) - Check possible cable interruption from battery to relay.
Relay pulls in, but starter still does not start, possibly too high contact resistance, caused by verdigris or loose screw connections (this happens more often than expected). - Starting process with light switched on, light becomes noticeably dimmer when battery voltage collapses
- wrong polarity battery ⇒ relay
- fortunately there are not many error possibilities directly in/on the relay
- if necessary remove the relay and check it
- Tip: In the end, an inexpensive measuring device should be purchased (sustainable, since it can be used often), otherwise there are too many ifs and buts in the room.
Possible defects of the starter motor
- worn carbon
- rusted bearings
- blocked freewheel of the starter motor (jammed)
Remedy: We check (with a measuring device) whether the current arrives at the starter motor. If the relay does not switch through, the winding of the solenoid is interrupted, then no clicking/clacking can be heard.
Conclusion
The best are breakdowns that don’t happen at all, because we care for our Diva. That’s why we advise regular maintenance and checking of wearing parts. These actions are far less time-consuming than breakdowns. They also spare our nerves. Also check seemingly unlikely possibilities, such as a defective cable or loose screws, and replace them if necessary.
Important: Do not buy cheap spare parts, because they are usually imported and can be of inferior quality.
With this in mind: Have a good trip all the time!


