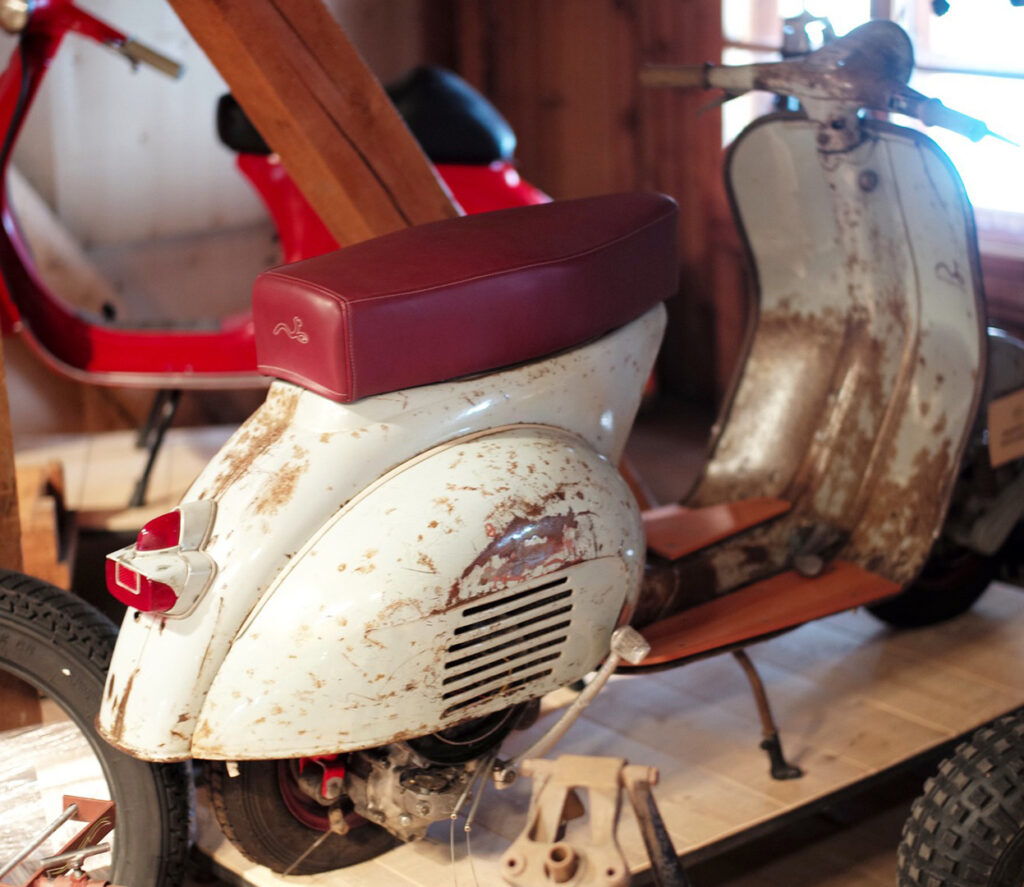
Our two-wheeler, the Vespa scooter, is literally crying out for a new seat because the cover looks pretty worn over the years. And then there’s the long, ugly tear. Not only is it ugly and immediately catches the eye, but it also reliably transfers moisture to the foam padding. This doesn’t hesitate for long and immediately transports the musty moisture to the bottom of our pants.
Why replace the entire seat if only the cover is ruined? The purchase price immediately puts a dent in our budget. The obvious solution is to get a seat cover and do it ourselves. It can’t be that difficult, can it? That’s right, it really isn’t rocket science, and with our instructions you’re guaranteed to succeed.
Material for a new Vespa seat
A good dose of patience is the key to successfully reupholstering a Vespa seat. There are several reasons for this:
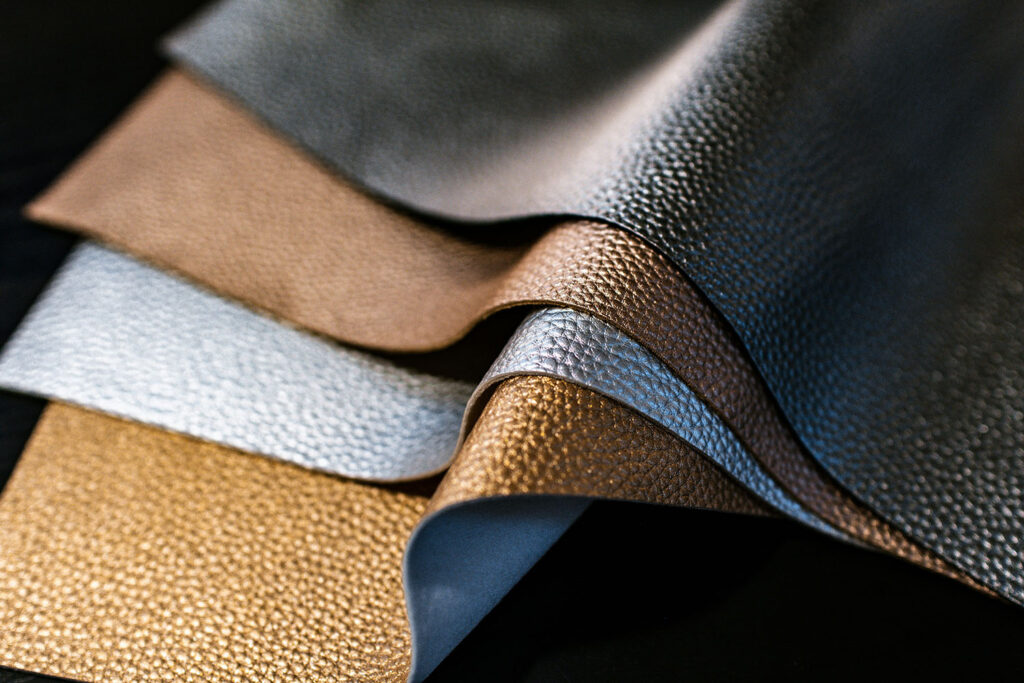
First of all, the ordered cover is often delivered folded several times due to a lack of space. To smooth out the creases, we place it in the sun for a few hours. The heat not only causes the creases to smooth themselves out, but also makes the artificial leather more supple, which makes it easier to work with. We recommend artificial leather as it is easier to handle than real leather and also lasts longer. Alternatively, a hairdryer can be used if the sun is not shining.
If the foam core has absorbed moisture, patience is required to allow it to dry completely.
To remove the old cover, we need a screwdriver and a light hammer. Staples are usually used as fasteners. After a long time, these can rust and come loose almost by themselves. A light hammer can be helpful here.
To fasten the new cover, we need staples, which are available in various sizes and thicknesses. The choice depends on the stapler used, be it an electric, cordless, pneumatic or hammer stapler. We prefer steel wires with a galvanized surface for high environmental compatibility and optimum rust protection.
A suitable stapler, including matching staples, is available at any DIY store.
Once the cover has been attached, scissors or a carpet knife can be used to remove excess material.
A small box or tin is recommended to store screws neatly and prevent them from getting lost.
There are also prefabricated seat covers and seat cushions if you want to save yourself the cutting work.
Eight steps to success
- Set up a clean workspace and have the necessary tools ready.
- If your bench has handles, unscrew them.
- Also remove the lock by unscrewing it.
- Unscrew the hinge for the tilt mechanism.
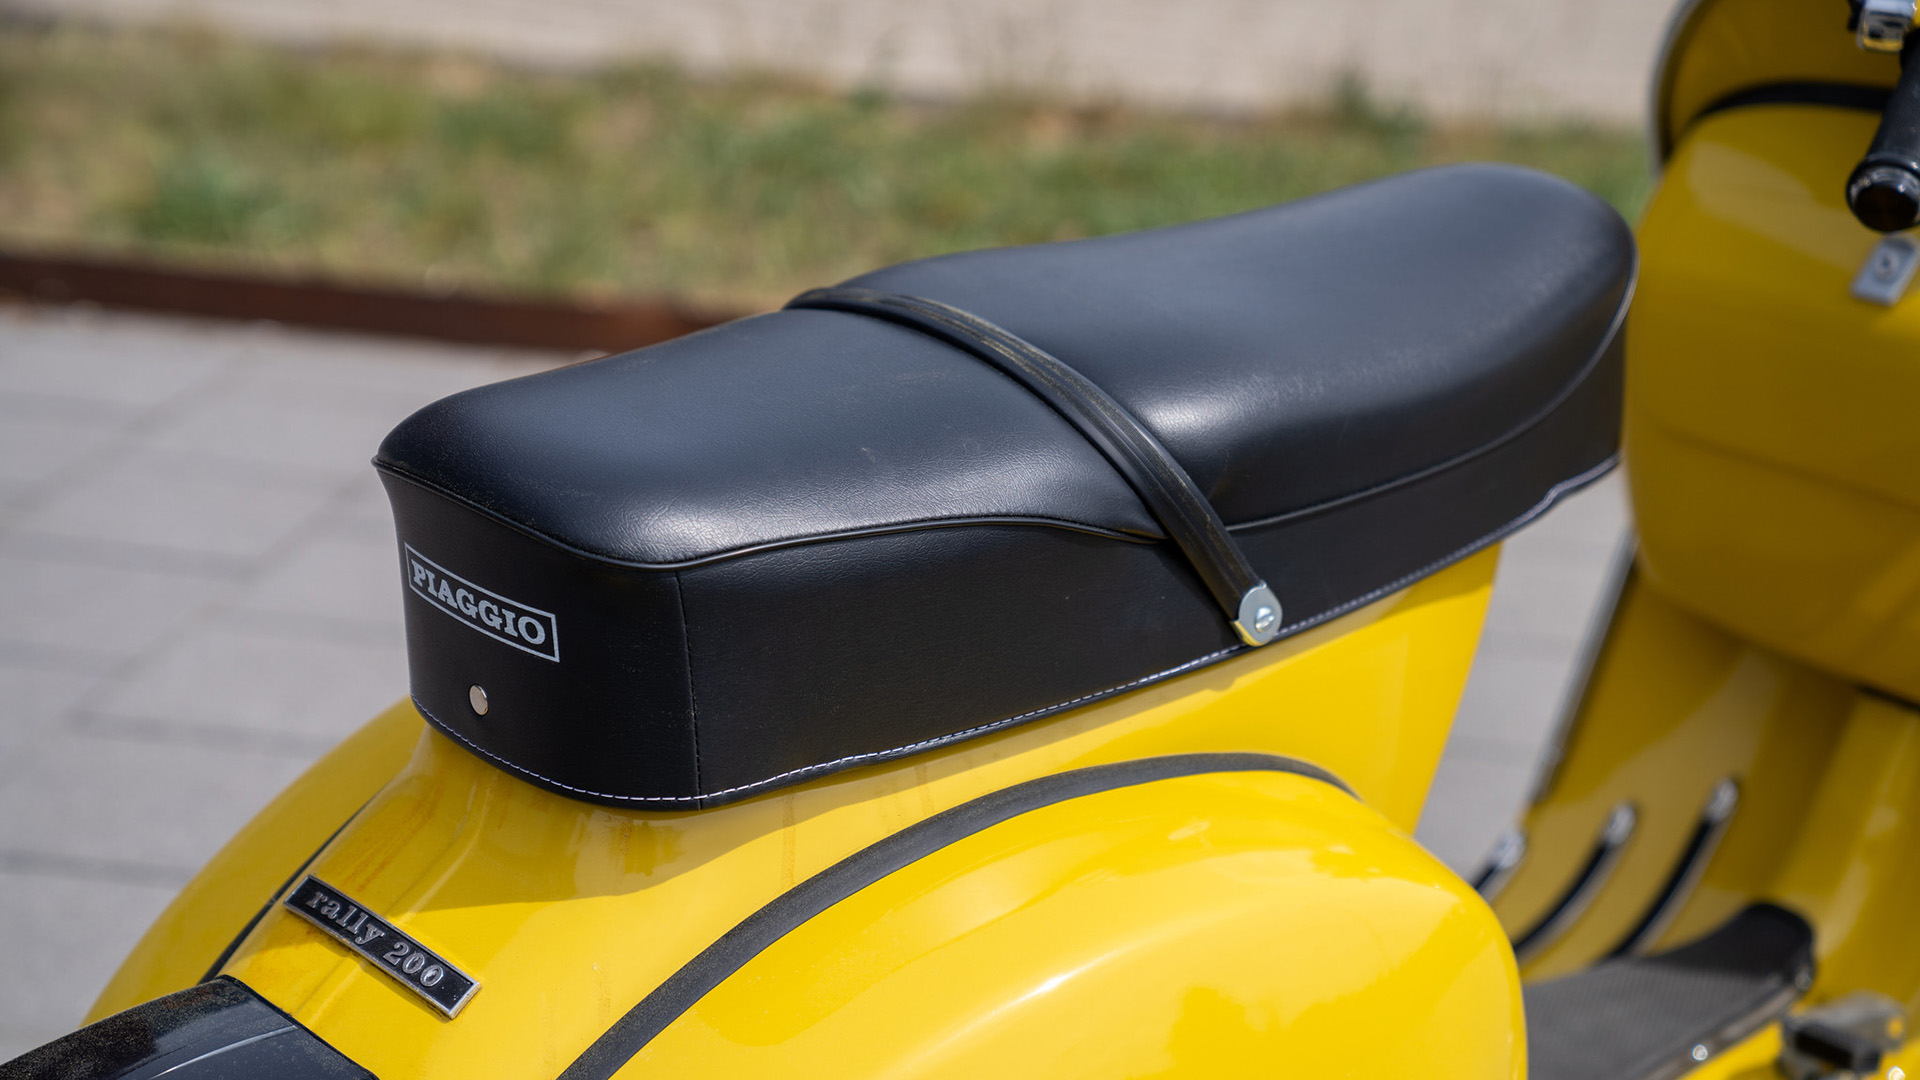
- If present, also remove the “Piaggio plate”.
- Dismantle the seat into its individual parts.
- Check the foam core for moisture. If it is damp, allow it to dry before covering it.
- Thoroughly derust and clean the metal seat frame. If you have a plastic seat frame, this step is not necessary as it cannot rust.
Tip for optimum work on the bench frame:
We place it on a homemade wooden frame, for example in the shape of a cross, to expose the sides. This allows us to leave the rust accessible so that we can pull the new cover precisely into shape.
A second person to help would be ideal. One person pulls the cover taut while the second person staples. Alternatively, strong clothespins can be used to hold the cover in place, although this is suboptimal. In this case, paper strips must be placed underneath to ensure that the staples do not leave marks on the new cover. It’s a bit awkward, but a viable solution in a pinch.
We proceed step by step, all the way round, always making sure that the material is stretched without creases. At the beginning, we leave some space between the stapled staples to allow enough room for possible readjustments.
It may well be necessary to remove a staple or two in order to smooth out any creases and tighten the material optimally.
Important
All old staples must be completely removed so that “new does not meet old” and prevent adhesion.
The foam core must be completely dry.
Ideally, stapling should start at the front or back. We then work our way forward along the sides.
The hinge for the seat bench must be cut out precisely. It is advisable to test whether the bench can be opened and closed properly before screwing it on.
Tips for fitting the lock
It is easiest if the lock has been unscrewed beforehand. When the cover is in place, cut out the cylinder hole with a cross-cut. Reinsert the lock, adjust and screw on.
Alternatively, the lock could also remain in the seat, with the cover simply stretched over it. Even then, the cross-cut is used at the end. However, we then have to deal with a lot of fiddling until the cover has disappeared under the lock surround.
Alternative: saddlery or new seat bench
If you are simply too comfortable or don’t have the confidence to carry out this work using the DIY method, you should obtain several quotes before placing an order. The costs/prices can vary greatly from region to region.
If you would prefer a completely new seat, there is a large selection of seats in the SIP Scootershop. For an in-depth look at the different types of bench seats, there is a suitable article: “The great variety for the Vespa bench seat”
At the end of every job that you have done yourself, the pride comes naturally. It’s just a really good feeling to have achieved something.
hey
I am interested in a seat cover like the one on the yellow Vespa
How much is the seat cover + shipping to Israel
Hello,
maybe this SIP classic seat is an option for you? It has high quality materials and is less expensive, than the original from Piaggio.
I don’t have insights on the shipping costs, since it depends on the weight. But they ship worldwide with UPS, Fedex or DHL.
Greetings
Vespamag Team