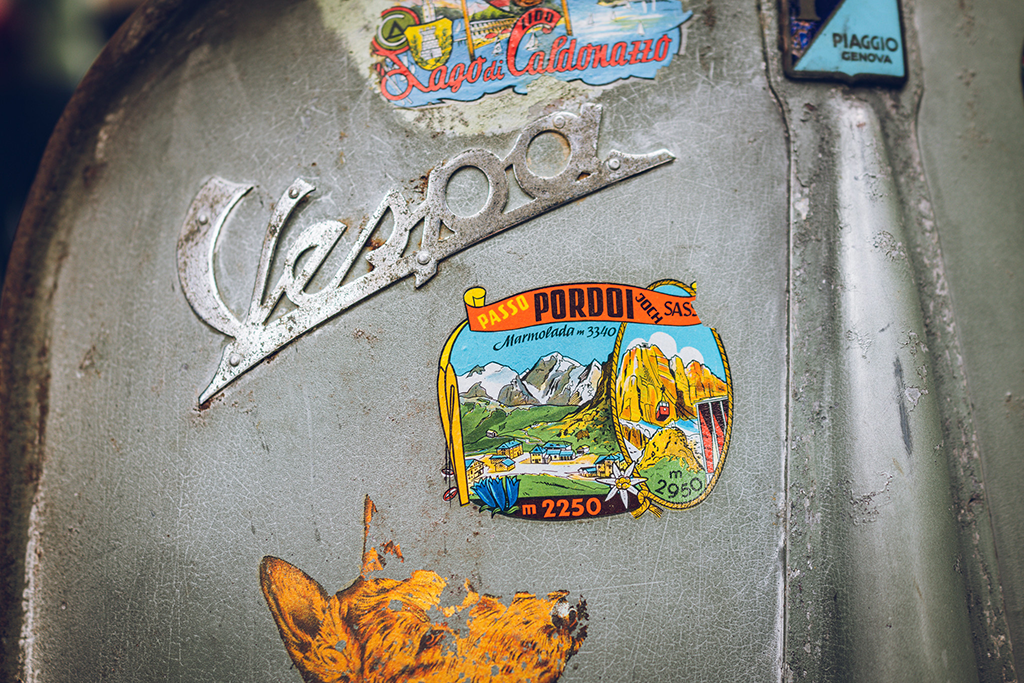
A sticker is quickly applied. For a while it looks good, but what if at some point it no longer looks good, if the Vespa is to be sold after all, or the sticker has simply become tired?
In this article, three methods are presented how the sticker problem can be solved quickly and easily, so that the sticker no longer “beautifies” the Vespa.
However, if you want to buy a few stickers first, we recommend taking a look at the SIP Scootershop sticker collection.
Option 1: Heat
The first thing you can do is try to remove the sticker with hot air, such as from a hair dryer or a heat gun. Especially if the sticker is not too old and has not been on the Vespa for years, the sticker is usually quickly removed from the paint.
Just make sure that the paint does not get too hot. You can orientate yourself by whether you can still touch the paint and the sticker.
First, the entire sticker is heated once. Then, at best, start heating the sticker more intensively at one corner and slowly peel off the sticker. Always try to remove the sticker piece by piece, not the whole sticker! Patience is the famous key to success here.
Now it can be that the sticker is already very old and has been sticking to the paint for a very long time and residues remain when removing it. In the case of light adhesive residue, you can continue to work with a damp microfiber cloth.
However, if stubborn adhesive residue remains and perhaps even an edge, other means must be used.
Option 2: Cleaner
Suitable for the more difficult cases are, for example, vignette and adhesive remover, tar and resin remover, also gel cleaner and foil eraser. The price range of the products here ranges from 6 euros to over 20 euros. Whether inexpensive products are worse than more expensive ones cannot be said in general terms.
When selecting cleaners, however, it is essential to ensure that they are suitable for paints. Under no circumstances should cleaners with acetones or nail polish remover containing acetone be used! The contained acetones would attack the lacquer and the sticker would become the smaller problem…
As a rule, it is written on the packaging of the cleaner how to use it. After the sticker, or the adhesive residue, has been sprayed with the cleaner, it is said to wait a bit and let the cleaner do its work. Once this is done, the remains of the sticker can be worked on and removed with the microfiber cloth.
When using a foil eraser, a cordless screwdriver or drill is also required, onto which the attachment with the eraser can be attached.
When using the eraser in any case do not apply too much pressure. Here it is better to just let the rotation of the eraser work.
The rubber of the eraser is worn away during use. Care must therefore be taken to ensure that the rubber does not wear away over the mark, as there is a metal ring in the center of the eraser.
When nothing else works…
If the sticker is very old, it may be that the remains of the sticker cannot be removed at all or the plasticizers have perpetuated themselves in the paint with the pattern of the sticker. Although the sticker has been removed, it is still visible.
In case of doubt, the only thing that can help here is the polishing machine. Now and then it is also necessary to completely repaint the area.
If you have no practical experience, this should be done by someone who has experience with such work.


