To get started on the subject of brakes, let’s clear something up:
An ordinary Vespa with manual transmission is equipped with drum brakes in the front and rear as standard.
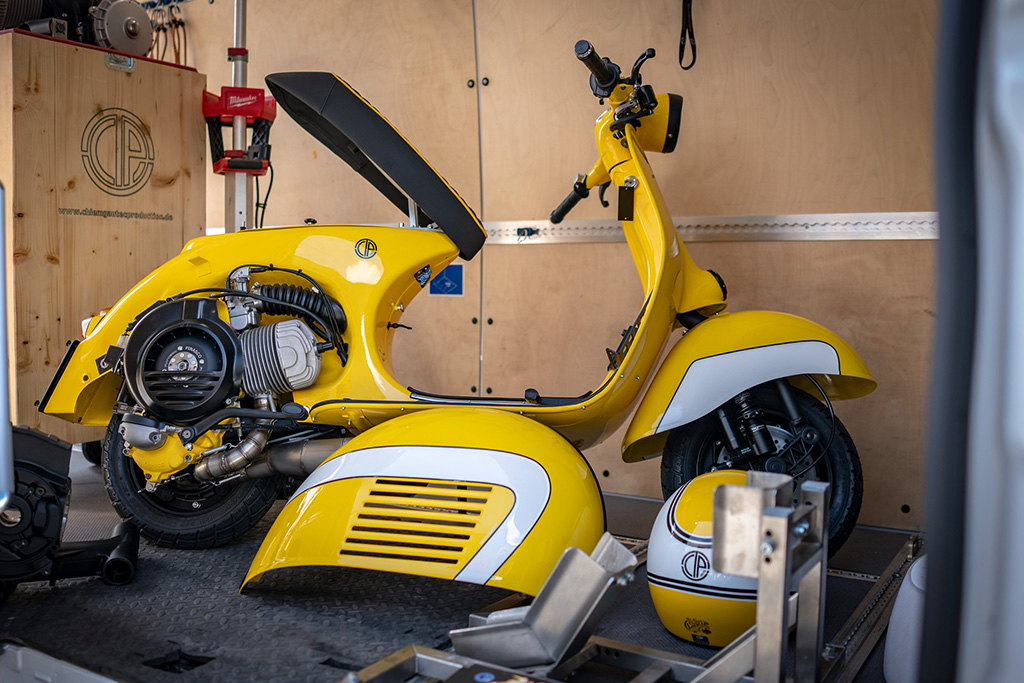
If we talk about conversion to disc brakes, we are in the tuning area and thus in the top class, where we do not want to go at the moment, but a separate article is needed.
Step by Step
To get to the innards of the drum brake, the exhaust must first be removed.
Here it is important to note:
- If possible, use a torque wrench (tip: SIP torque wrench, TOP price-performance ratio).
- first loosen all screws only a little bit, but still leave them on
- if a screw refuses the first turn, a splash of rust remover may help
- the screw on the cylinder/manifold is the last to go
- the sealing ring, which falls against it, should be saved and reinserted later
- Danger of damage to the protruding retaining screw on the cylinder/manifold.
- Hold the exhaust when removing, should not bang on the floor
Now we have a clear view of the wheel mounting. To get to the brake shoes, we have to remove the wheel. Let’s hope that the fastening screw is not rusted, which unfortunately often happens. In this case, our rust remover and, if necessary, an impact wrench will help. In no case use brute force, after all we need the screw again afterwards. The recommended torque is 10 nm.
- first loosen the screw
- if this does not succeed at first go, spray sparingly with the already known rust solvent (do not drown)
- please do not use force, this can not be reminded often enough and applies to all screw work on our beloved
- if the screw is completely unscrewed, take off the wheel
- if it should not go, we capitulate. NO, we do not do that of course. Before a Vespisti gives up, the Lech flows back to its origin in Austria
Extra Tip:
We give the rear wheel traction by either holding it (possibly a helper), or turning the adjusting wheel for the brake cable to full tension so that the wheel cannot turn together with the screw.
If small parts should get lost, there is a large selection of screws, of seals and generally spare parts for Vespas of all kinds.
The wheel is removed
Then we have to remove the cover of the brake housing so that we can get to the brake shoes.
Whether they are okay or not, we take them out so that we can at least clean the material abrasion or replace them with new pads.
- completely loosen the adjustment screw of the brake cable
- fold the left, lower brake shoe inward first
- caution: danger of injury by the tension springs and the shoe holder
- the first spring will fall out, it is best to hook it in again immediately
- repeat the procedure with the right, lower brake shoe
- the shoes are completely removed, we clean the housing with brake cleaner
- important hint: the brake shoes must not get any oil on them
- for smooth running of the cam, it – as well as the abutment – can be lightly coated with ceramic grease or copper paste
- the shoes must run smoothly on the cam and must not jam
- now that everything is clean, put the brake shoes back in place or replace them.
- done, then mount the wheel again
Attach exhaust
Reattach the exhaust. To do this, we first place it loosely on the brackets provided. Then we start to slowly retighten the screws. We finish with the screws on the cylinder/manifold.
Adjust brake cable correctly
The wheel should move freely. We prevent this and turn the adjusting screw – always half turns – until the wheel is fixed but can be easily turned by hand. If necessary, we also turn it back again, depending on the desired braking power.
Now the handlebar grip comes into play. It is in the right position when it has to be pulled halfway to the handle.
The closer it can be pulled to the handle, the more lax/soft the braking performance and vice versa. By turning the adjusting screw back and forth, we look for and find the right adjustment.
The adjustment is always the same, regardless of the different construction of the device in each case. It depends on the model of the scooter (refer to the manual).
Please note
Always check the oil seal on the manifold when inspecting the brakes. As soon as traces of oil are visible, it may be leaking and releasing oil to the brake pads, rendering them unusable. Trying to rid brake pads of oil is impossible. The only thing that will help is to immediately replace the brake pads and the sealing ring.
In any case, the new brake must be run in, preferably on a secondary road with little traffic. In the process, we brake excessively often and vary the intensity of the braking power.
We Vespisti know:
Safety comes before all other things, and at the same time guarantees unadulterated driving pleasure.
That is why we do not buy cheap parts or inferior tools from the net, but from the dealer we trust SIP Scootershop.
Comments (1)